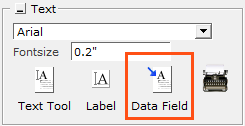

Using the Data field, you choose the information that you would like to be displayed on a sheet in the paper view, such as project name, sales person etc. The Data field is placed independently on the sheet in a template frame.

Figure 1
The Data field can be used in two different ways:
As a tool to simplify insertion of frequently used text.
As a cross-reference. It is possible to tie filed variables to a certain dialog box where project data has been filled in (note that the project data dialog is only available in certain extensions).
To insert dynamic text and assign text variables, follow these steps:
Select the Data field from the Create print template component tab.
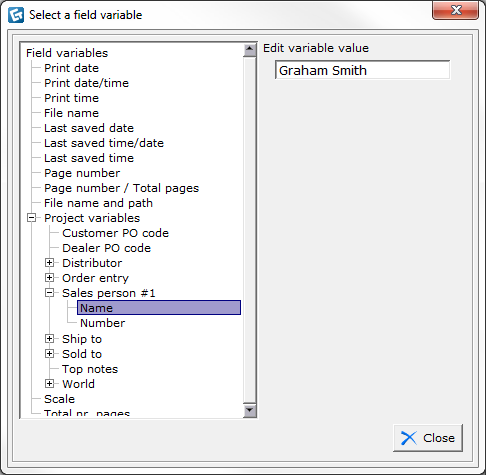
Click the box into the desired position in the drawing area of the 2D view. A green input box appears and the Select a field variable dialog box.
Set the desired text properties in the green input box.

Figure 2
Select the desired variable in the Select a field variable dialog box. A field appears to the right.
Here, the behavior differs slightly depending on how you use the Data field tool (see alternative A and B above).
Enter the variable value in the field to the right and choose Close. The next time you wish to insert the same variable, it has already been defined. At that point, just select the variable and click the Close button.
If you have already defined the variable value in a project data dialog, this information will be shown and all you need to do is to click the Close button. Continue placing new placeholder boxes and assigning the different project variables that you want displayed in the drawing.
Note:
|