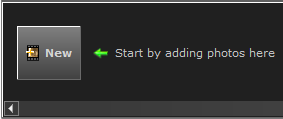

The first time you open Photo Lab in a drawing you are presented to a start screen consisting of your current 3D view, a menu bar and a thumbnail area. In the thumbnail area, there is a New button and you are prompted to start by adding a photo. Clicking the New button adds a photo for you to work with, and also changes the setup of the Photo Lab window to display either a simple or an advanced mode depending on which mode was active the last time Photo Lab was open.

Figure 1: The New button.
You can click the New button several times to add new photos. All photos are displayed in film strip fashion in the thumbnails area at the bottom of the screen. Photos with an orange frame are in Edit mode, while photos with a green frame have been rendered and are in View mode. The photo that is currently selected has a white background. You can delete a photo by clicking it once and then pressing the Delete key on your keyboard.

Figure 2: The Thumbnails area.
At the top of the Photo Lab window there is a menu bar with the following menus: File, Photo, Tools, and Help.
File: the file menu contains the standard options New, Open, Save as, and Save.
Photo: the photo menu contains photo related options for handling photos as well as rendering options and the possibility to insert photos in Paper view. You can also copy the settings from one photo and paste them into another.
Tools: here you will find different drawing and rendering options.
Help: the help menu offers links to the CET Designer online manual and the Configura help desk website.

Figure 3: The Menu bar.