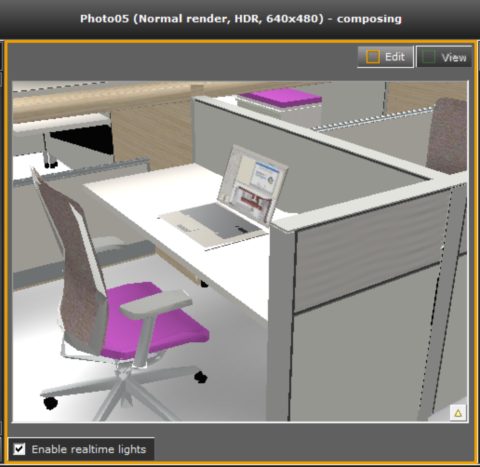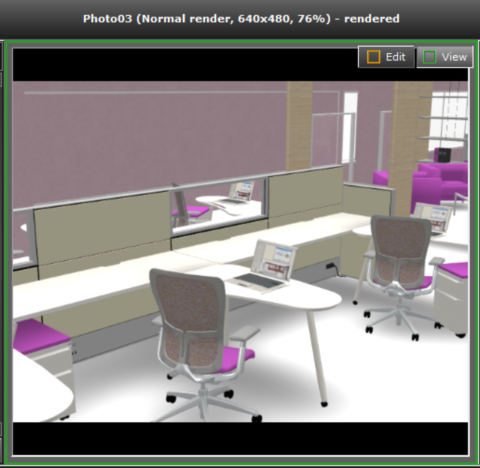

The center part of the Photo lab window is the viewing area for your photos.
Photos with an orange frame can be edited. For example, you can zoom in or out, pan or stretch components. Bear in mind that the image is a direct representation of your drawing. This means that if you remove a component from the image in Photo lab, you are also removing it from the 2D and 3D view drawing areas.
Photos with a green frame have been rendered and are locked for editing. To make adjustments, you must click the Edit button in the top right corner of the photo which makes the photo editable. Remember that you have to render the image again after adjusting it. This also applies to previews, marked with purple frames.
Edit / View. Two buttons are located in the top right corner of the viewing area - Edit and View. For images that have been rendered you can switch between edit mode and view mode by clicking these buttons.
Enable
realtime lights. When this checkbox is selected, lights and
shadows are instantly updated when you make changes to the image or
try out different settings.
 |
 |
|
| Figure 1: Photo in Edit mode. | Figure 2: Rendered photo. |