
This is a suggested work flow for the rendering process.
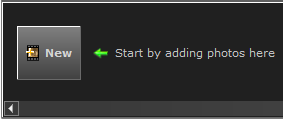
Create a new photo
by clicking the New button
at the bottom of the window.
Right-click the
thumbnail and rename the photo. The file name is displayed at the
top of Photo Lab.

Adjust the view of the image in the Viewing area. Right-click to change the Perspective or Elevation.
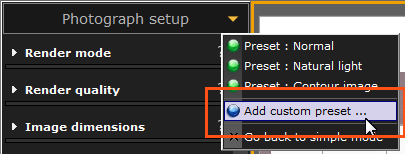
Choose the desired
Photograph
setup setting. Settings that you are satisfied with can
be saved as presets to either use again or to share with colleagues.
Click the Render button at the bottom of the
Photograph
setup area. The rendering occurs in a separate window,
the Render task list, and
you can continue to work on other photos or return to the drawing.
After the rendering is complete it is presented in the Viewing area which now
has a green border around it.

Add Post processing effects
as needed. If you wish to apply the same effects to other images you
can save them as presets.
Save or e-mail the rendering.
Tip!
|