Placing doors

To place a door in an existing wall (see Figure 1 below), follow these steps:

  1. On the Wall Drawing component tab, select the Door component.

  2. Move the component into the drawing area. The door snaps in line with the existing wall.

  3. When it is in the desired position, click to place the door. An input box opens.

  4. Indicate the desired value and confirm by pressing Enter or by clicking.
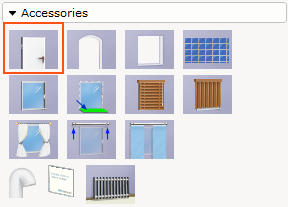
 

door_30.png

Figure 1


Exemple of a door

Figure 2


Note:

  • After you have placed a door you can still change its width, height and other values, by selecting the component and entering the new settings in the input box that appears.

  • You can also stretch the component manually after placing it by clicking and dragging the different yellow snap points.

  • Pointer: To make it easier to position components, set a reference point first.