
You may have received an email from the person administrating your CET Designer licenses, containing a link to a registration form for setting up your MyConfigura user account. If this is the case, click to follow the link and fill out all the requested information. If you didn't receive an email, you can set up your MyConfigura user account by clicking the Create new account link in the CET Designer login window, see Figure 4 below.
The following section takes you through the following steps:
 |
|
 |
|
 |
|
 |
|
Creating a MyConfigura ID and verifying your email address. |
On the registration page, see Figure 1, fill out all the required fields (indicated with a red star). At the bottom of the page, you need to accept our terms and conditions before clicking the Create MyConfigura ID button.
Enter your email address. This is your MyConfigura ID which is used from now on for logging in to CET Designer and MyConfigura. Here, you also select a personal password (at least 6 characters in length).
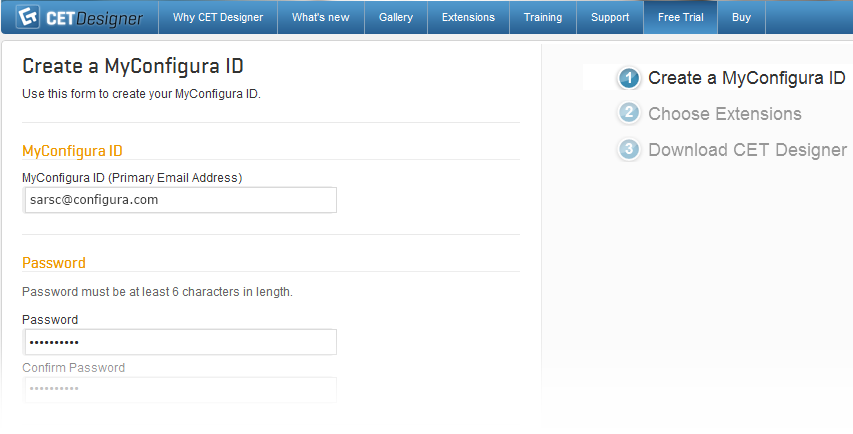
Figure 1: The MyConfigura ID registration
page.
Note Make sure to use your corporate email address as your MyConfigura ID. This address is tied to your licenses, so entering a personal email address (such as @gmail.com, @hotmail.com or similar) will prevent you from using the CET Designer software and its Extensions.
|
After clicking the Create MyConfigura ID button, you'll need to verify your email address in order to activate your account. A verification email has been sent to the address that you entered. Check your inbox, and follow the Activate your account link in the verification email to verify your address.
|
Choosing Extensions. |
As the next step, you choose the Extensions you wish to install, see Figure 2. Note that both Manufacturer's Extensions and free Extensions are available on the same web page. Click to select one or several Extensions and proceed by clicking Next. You can deselect an Extension by clicking it again.
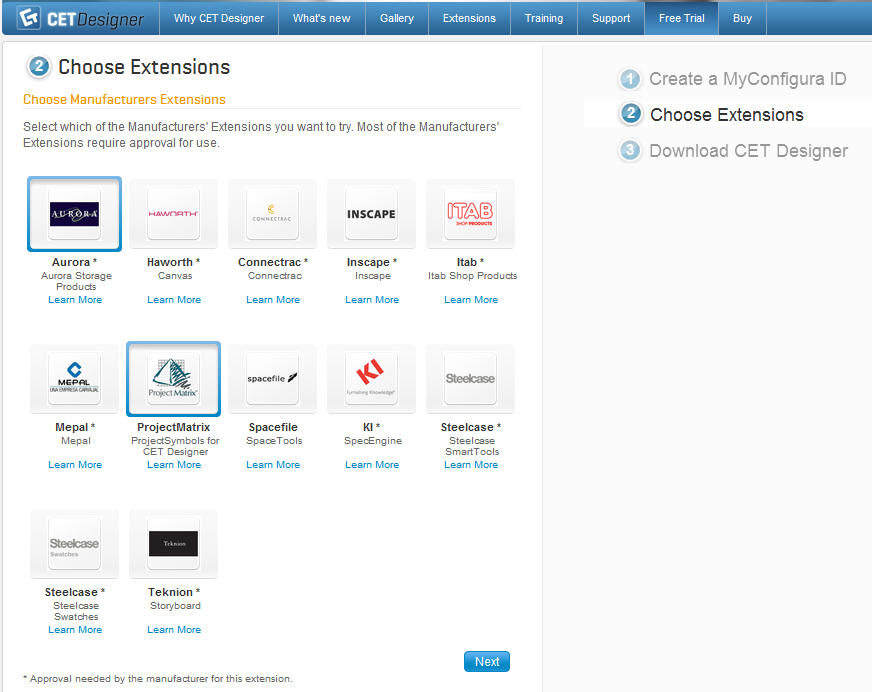
Figure 2: Select the Extensions you wish to install.
|
Downloading CET Designer |
As a final step you can download the CET Designer software, see Figure 3. If you already have CET Designer installed on your computer, you can select to start it.
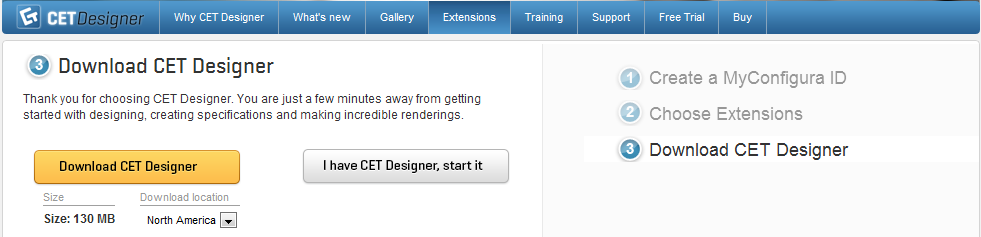
Figure 3: Finish the process by downloading or starting CET Designer.
|
Logging in to CET Designer |
When starting CET Designer, the blue login window is displayed, see Figure 4. Enter your MyConfigura ID and Password and click Log in.
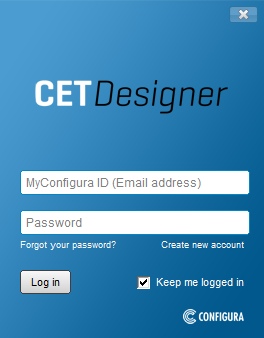
Figure 4: The CET Designer login window.
Note To work with the Extensions that you selected during the setup, click the Update now button. This will generate a tab for each downloaded Extension in the Component area.
|