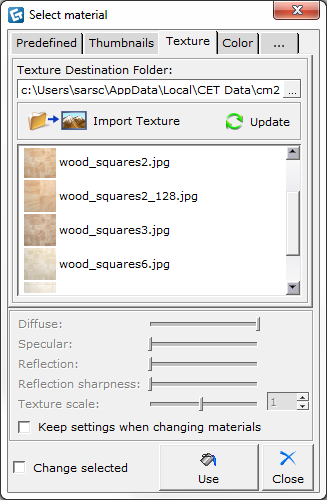

In the Select material dialog box, you will find the Texture tab (see Figure 1). Textures are photos of real materials such as wallpaper, tile and different types of flooring. High quality textures are often scanned or photographed with a digital camera. To use textures in CET Designer, you have to gather and store them yourself.

Figure 1
Follow these steps to use a texture:
Open the 3D component tab.
Under Material Change, click the Material button.
Click the Texture tab.
Click the ellipsis in the top-right corner (see Figure 2). A new dialog box opens that you use to locate the folder with your textures.
![]()
Figure 2
Just select a single texture from the folder and all of them will be shown in CET Designer. Next, click the Open button.
In the Select material dialog box, all textures from the folder are now shown.
Select a texture and click Use at the bottom of the dialog box.
Move the mouse pointer to the drawing area. A paint can follows.
Move the mouse pointer to the object or area with the color you want to change.
Click to apply the texture.
Render an image to see the results with the new texture.

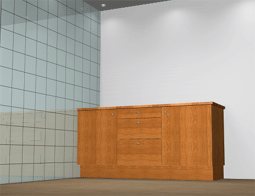
Figure 3 shows a tile texture that's been placed on a wall.