The main part of the Render & Camera Settings dialog consists of a Real Time View where you can see what the currently selected camera is capturing:
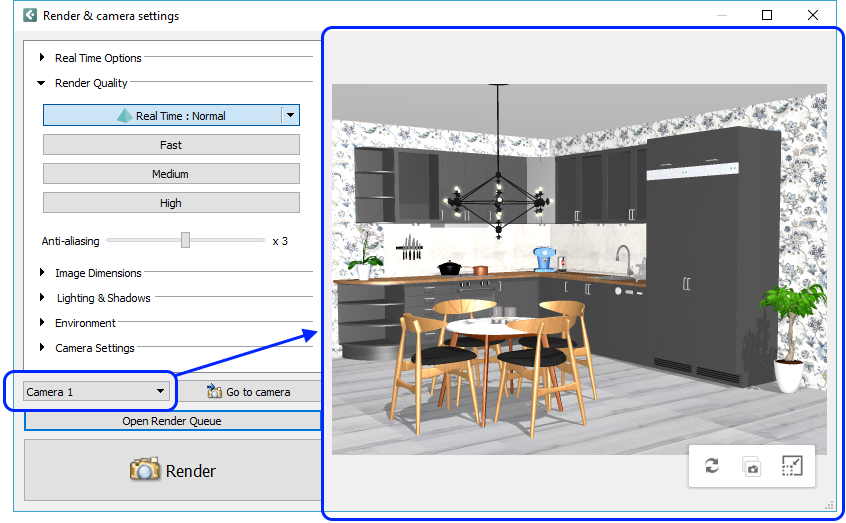
The Real Time View is interactive, and below you'll find descriptions of its features.
When you open the Render & Camera Settings dialog, a progress bar at the bottom of the Real Time View will quickly flash by, showing whether the scene is still being loaded or has finished loading. This process is normally quite fast, so you might not notice the progress bar at all.
Blue = the scene is still being loaded and not all objects are in place yet:

Green = the scene has finished loading and all objects are in place:

If you have the Render & Camera Settings dialog open and add, remove, or move objects in the drawing, the Real Time View instantly updates to reflect the changes made.
Note:
|
Changing the settings to the left in the Render & Camera Settings dialog will update the Real Time View to reflect the changes. Follow these links to read more about the options available: Real Time Options, Render Quality, Image Dimensions, Lighting & Shadows, Environment, and Camera Settings.
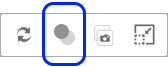
Moving the mouse pointer into the Real Time View will bring up a tool bar in the lower left corner:

Starting from the left, these tools are:
Refresh scene: click this button if you have made changes, for example changing material or texture on an object, but can't see the changes in the Real Time View.
Copy view: copies the Real Time View to the clipboard for easy pasting in the drawing area or other programs.
Compact mode: puts the
Render & Camera Settings in a compact mode by hiding the settings
menu on the left, and making the Real Time View smaller.
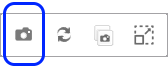
When in Compact Mode, the tool bar also contains a button for rendering
the scene:
Show shadows: only available
when the Auto update shadows option in the Real Time Options is disabled.
Clicking this button will trigger an update of the shadows in the
Real Time View: