On the 3D Custom material tab you can select Textures or RGB Colors to use on the 3D surfaces of components. Both options are described below.
Textures are images of real materials, for example scanned or digital images of wallpaper, tiles and lino floor coverings. The textures must be stored on your PC or on your company's network in order for you to be able to use them.
To apply a texture, follow these steps:
On the left-hand side, select the Surface you want to apply the texture to. To be able to use a texture, the surface must have a 3D.
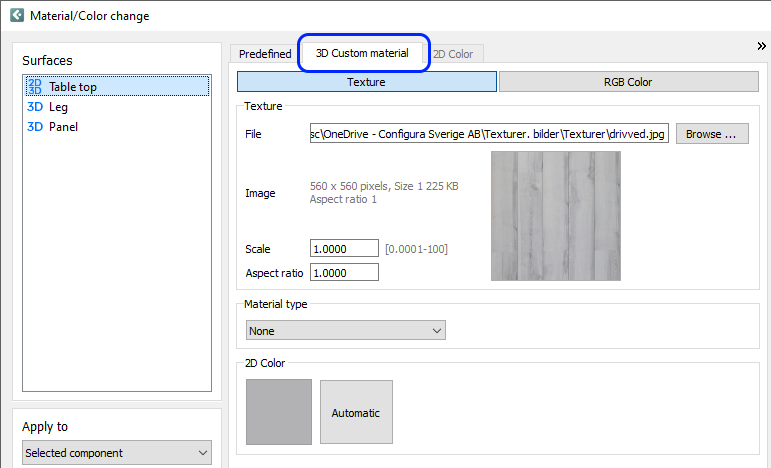
Pick the 3D Custom material tab and make sure you are on the Texture option.
Click the Browse button to locate the texture you wish to use. Choose a texture in the Open dialog and click Open. The path for the texture file you chose is displayed in the File field.
You can now change the texture parameters in terms of Scale, Aspect ratio, and Material type. For surfaces that have both a 2D and a 3D, you can also go in and set a 2D color as described below.
To confirm, click OK (closes the dialog) or Apply (keeps the dialog open).
Note:
|
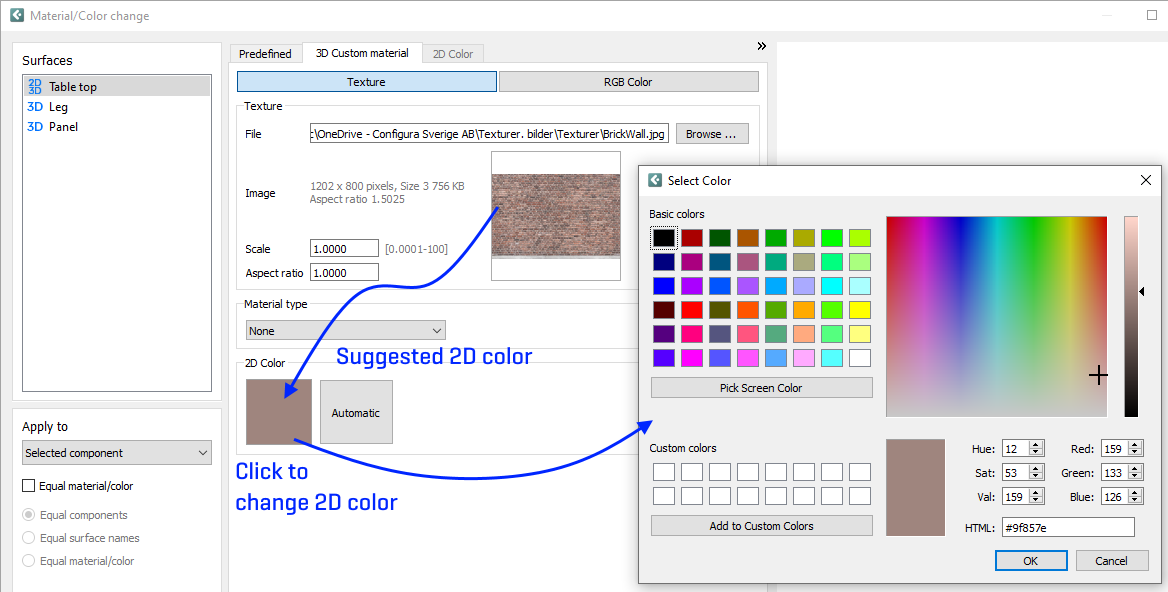
If you have a surface with both a 2D and a 3D and you select a texture for the 3D, Configura automatically picks a color for the 2D, based on the colors of the texture. If you want to change it, click the colored square and pick a different color. To reset, click the Automatic button:
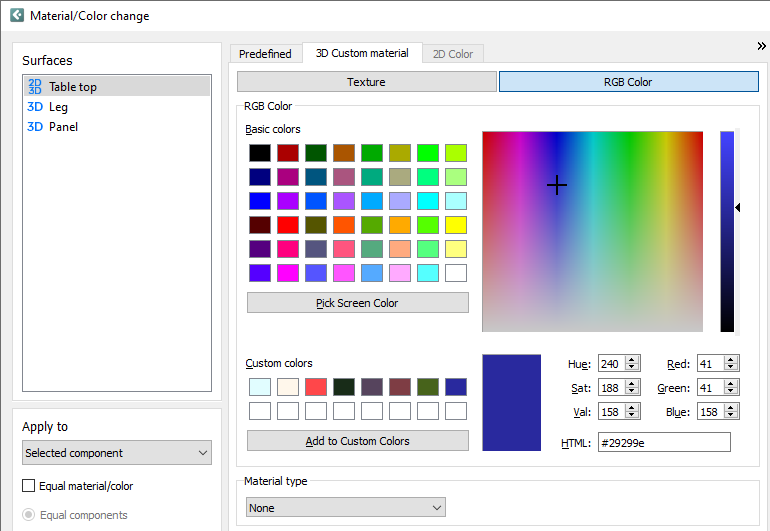
Picking a surface that has a 3D and going to the RGB Color option, you can pick one of the basic colors shown on the tab, or use the Pick Screen Color tool to pick any color on your screen. After picking a color, you can add it to your custom colors, saving it for later use.
You can also enter the values for a specific color (HSV / RGB / HTML) and add that as a custom color too.
To pick and apply one of the basic RGB colors in the program, follow these steps:
In the drawing area, right-click on the component that you want to change, and select Material/Color from the right-click menu. The Material/Color change opens.
In the Surfaces list, choose which surface you want to work with. To be able to apply an RGB color, the surface must have a 3D.
Go to the R3D Custom material tab and click the RGB Color button.
Pick one of the basic colors presented.
To execute the color change, click OK (closes the dialog) or Apply (keeps the dialog open).
To pick and apply a color using the Pick Screen Color tool, follow these steps:
In the drawing area, right-click on the component that you want to change, and select Material/Color from the right-click menu. The Material/Color change opens.
In the Surfaces list, choose which surface you want to work with. To be able to apply an RGB color, the surface must have a 3D.
Go to the R3D Custom material tab and click the RGB Color button.
Click the Pick Screen Color button. The mouse cursor now looks like a plus and you can click anywhere on your screen to pick a color. The color you have picked and its values are displayed below the color chart.
You can save the color that you picked by clicking the Add to Custom Colors button.
To execute the color change, click OK (closes the dialog) or Apply (keeps the dialog open).
To pick and apply a custom color using color codes, follow these steps:
In the drawing area, right-click on the component that you want to change, and select Material/Color from the right-click menu. The Material/Color change opens.
In the Surfaces list, choose which surface you want to work with. To be able to apply an RGB color, the surface must have a 3D.
Go to the R3D Custom material tab and click the RGB Color button.
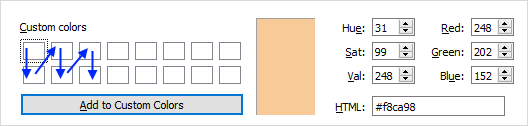
Enter the desired color code as HSV, RGB, or HTML values. The color you have entered is displayed below the color chart.
You can save the color that you entered by clicking the Add to Custom Colors button.
To execute the color change, click OK (closes the dialog) or Apply (keeps the dialog open).
When the color preview displays a color that you want to save to your custom colors, click the Add to Custom Colors button:
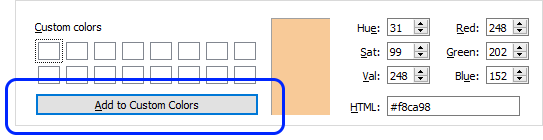
By default, adding a custom color will start to fill the top left box,
then continuing to fill the boxes like this:
You can also click to select a specific box, specify the color code and then click the Add to Custom Colors button to fill that particular box. Just be careful not to overwrite a color that you have already saved and want to keep.
By selecting a Material type from the dropdown menu, you can control what type of material the color should be based upon. This could be useful for making the look a certain way, for example like plastic or leather: