
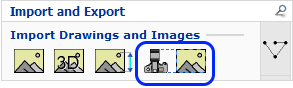
When running Configura in advanced graphics mode, you will find a component on the Import and Export tab that lets you insert a camera view into the drawing area:
This camera view is synchronized with all the cameras in the drawing area and offers a way to insert rendered images to the drawing area. It also enables the creation of 3D PDF files with an active, dynamic 3D view.
To add a camera view, follow these steps:
Go to the Import and Export component tab.
Click the Insert camera view for creation of 3D PDF component and move the cursor to the drawing area.
Click once to set the starting point, keep the left mouse button
pressed down, and move the mouse diagonally to the desired size.
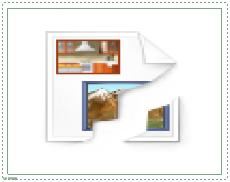
Release the mouse button. The inserted camera view looks like this:
Continue to add several camera views, or press the Esc button or move the cursor outside the drawing area to release the component.
You can also select any camera in the drawing area and select Insert camera view from the right-click menu.
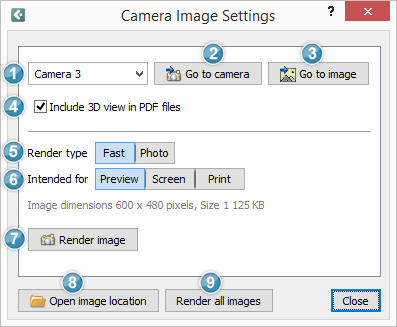
Double-click between the solid line and the dashed line to bring up the Camera Image Settings dialog:
 |
In the drop-down menu, select which camera that the view should refer to. |
|
When you have selected a camera, you can use the two buttons to the right for easier orientation. Go to camera jumps to the selected camera in the drawing area, while Go to image jumps back to the camera view. These buttons make it easy to toggle between the two. |
 |
The checkbox just below, Include 3D view in PDF files,
is selected by default. This option lets you create 3D PDF files
with the active 3D view as seen from the camera's position. |
 |
Further down, there are two Render types to choose from. Your selection controls the quality of the inserted rendering.
|
 |
You can also specify what the rendering is intended for:
The image dimensions is shown below and, naturally, a larger image will take longer to render than a smaller one. |
 |
To render the currently selected camera image, click the Render image button. |
 |
At the bottom left, there is a button for opening the folder that contains the rendered image. The rendering in question is then highlighted in the containing folder. |
 |
If you wish to render all camera images in your drawing, use the Render all images button. Each rendering is placed in a render queue and will render while you continue to work in Configura. |
Note: It is important that you do not switch to a different drawing while Configura is rendering your images as this could prevent the program from finding resource files and locations that it needs.
|

