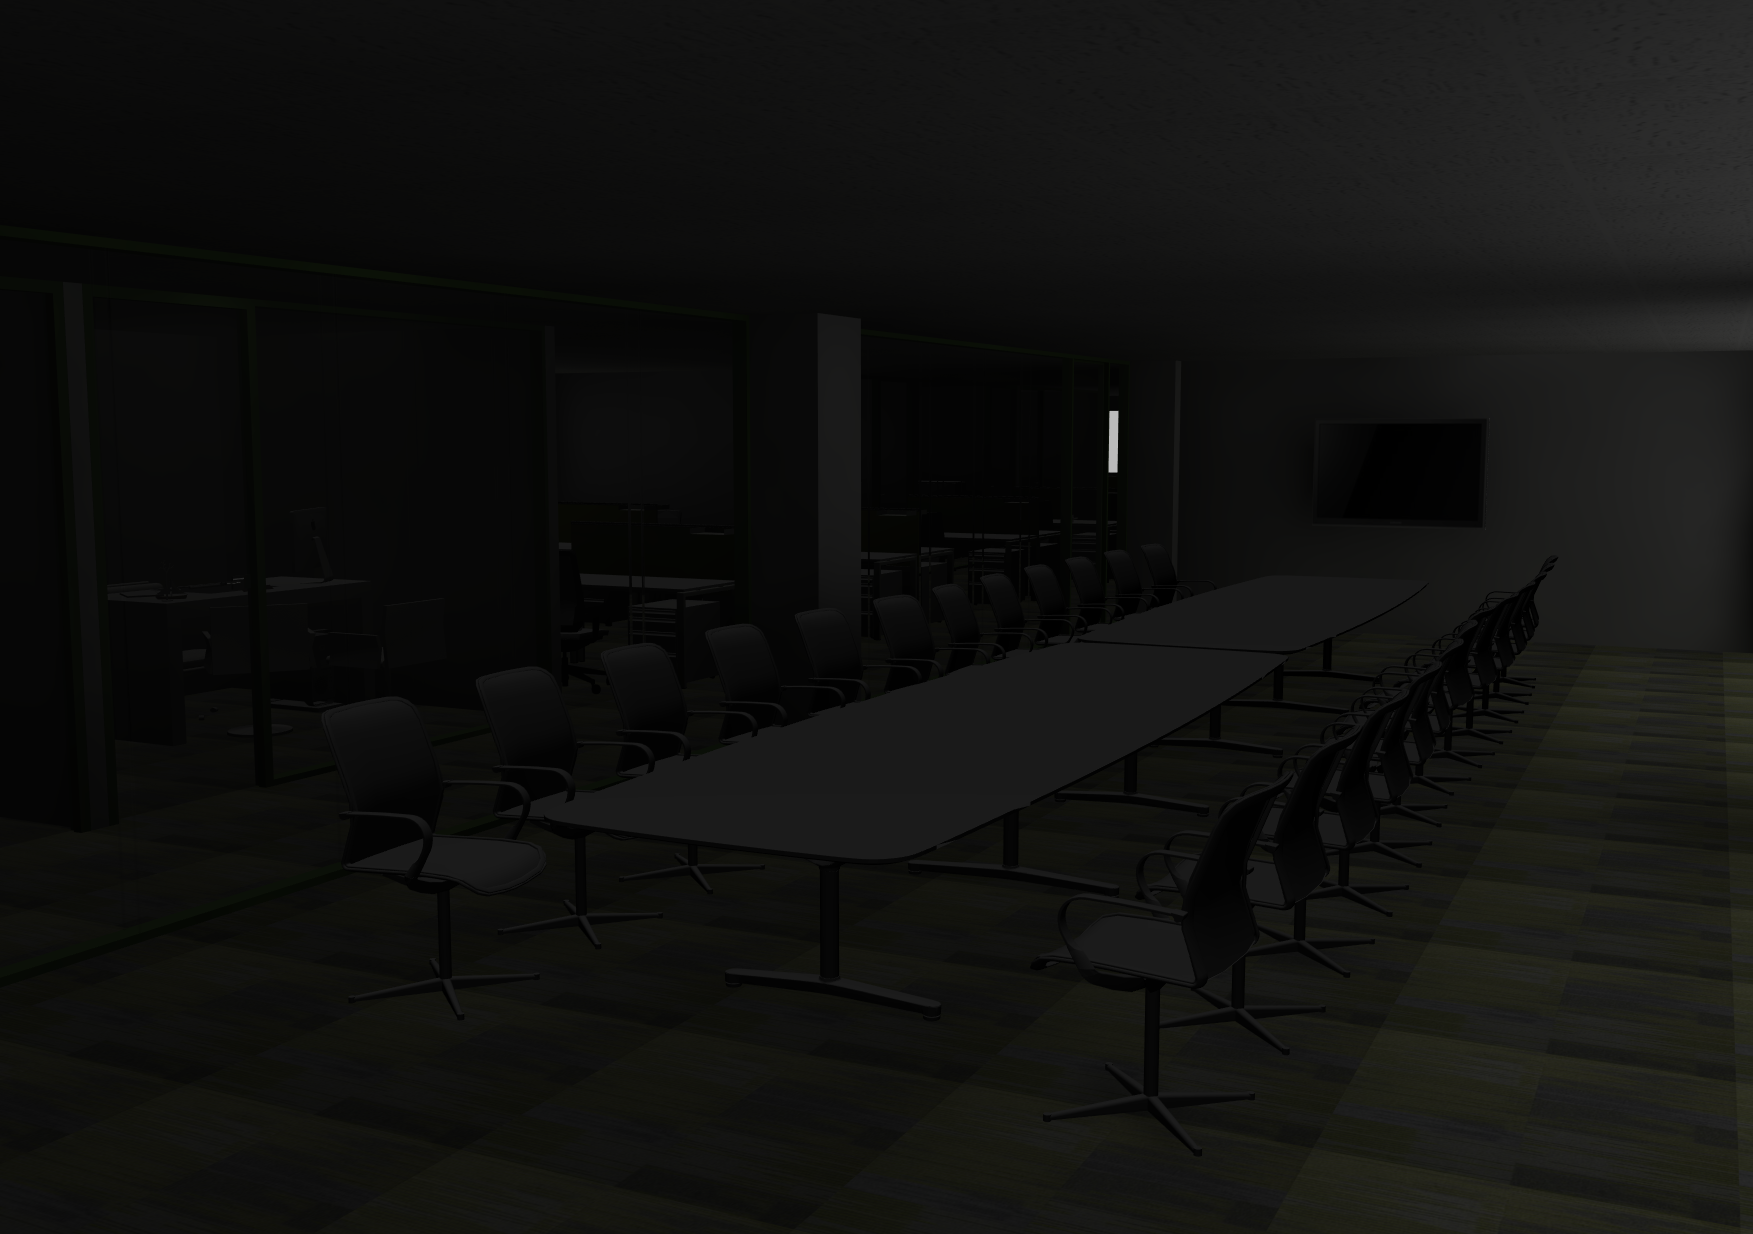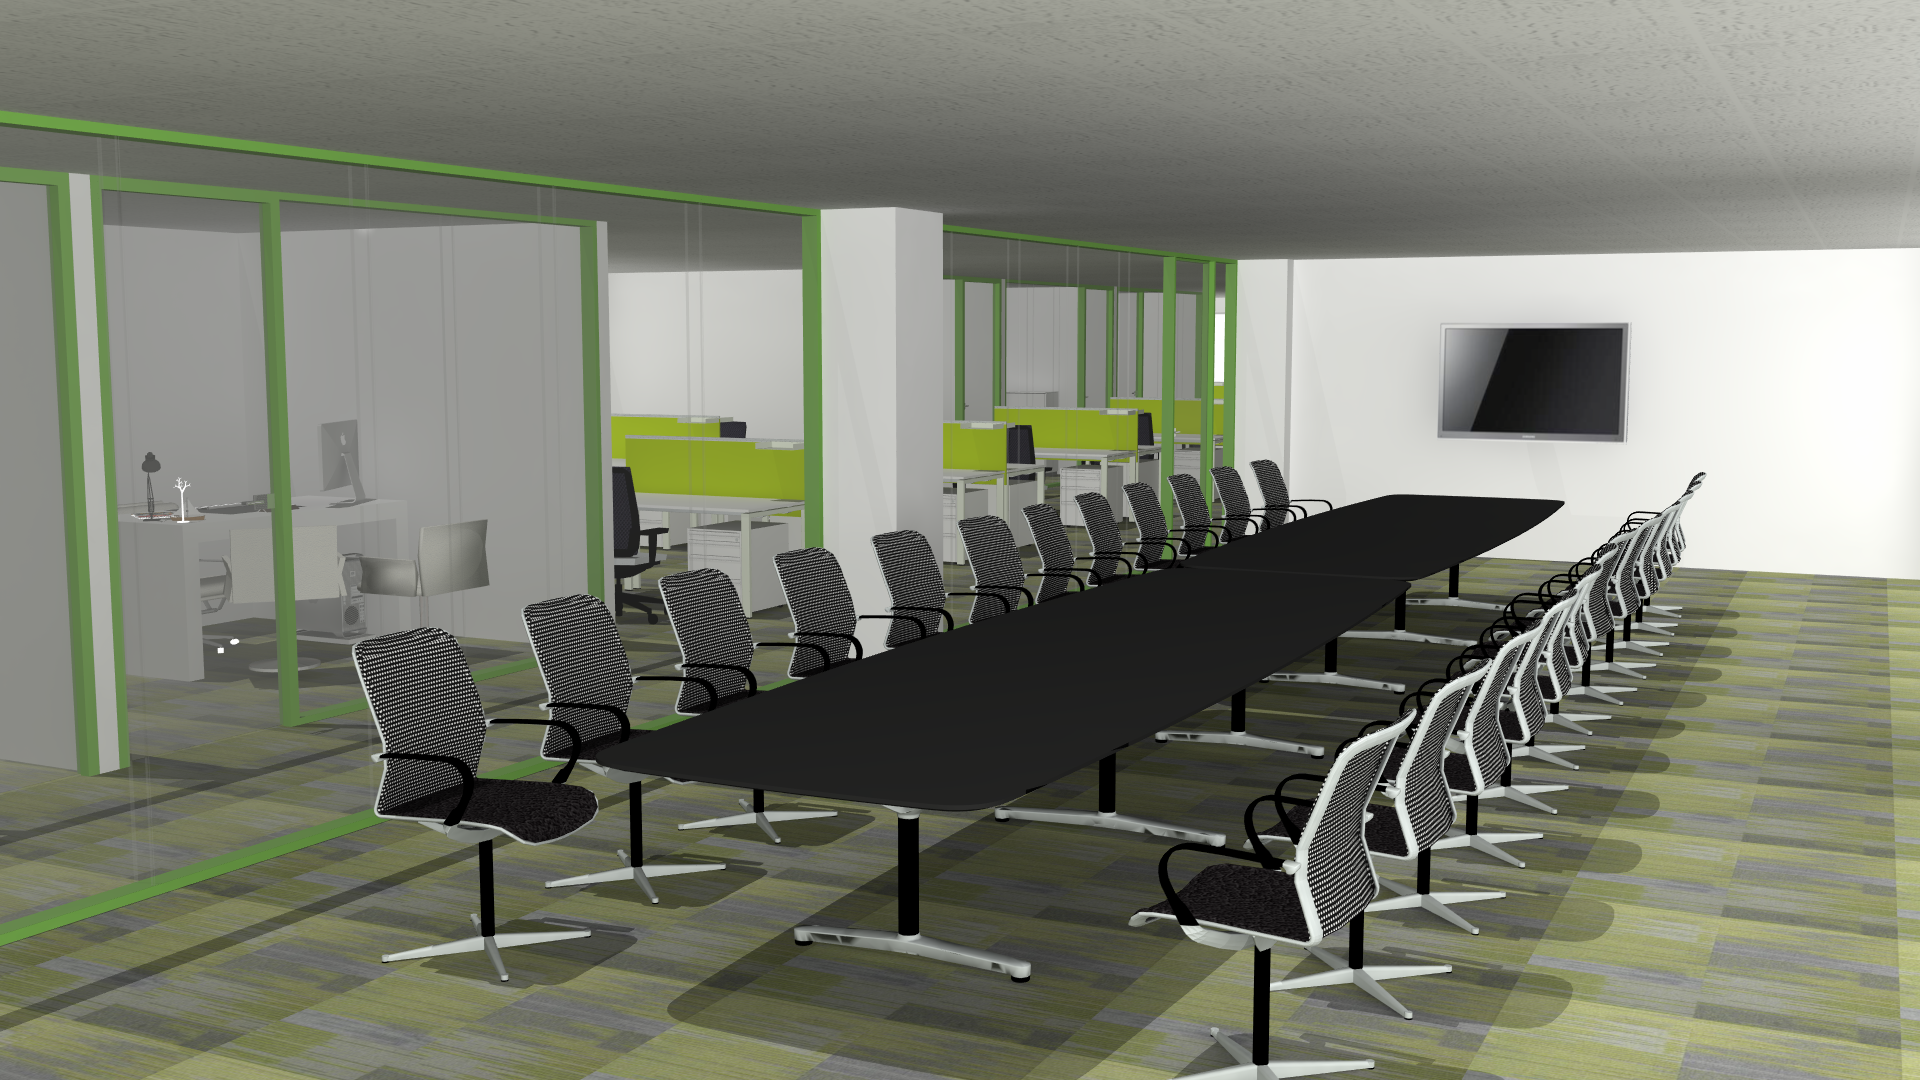

By implementing HDR (High Dynamic Range imaging) and tone mapping techniques to the rendering process, InstantPlanner produces renderings where the light in the scene is automatically balanced. These two techniques work together in preventing overly dark or bright render results, and can therefore be viewed as automatic post-processing effects. When picking a render method that utilizes the render server, they are always in use and operate in the background to help achieve nice renderings. Below are two renderings that show the difference in light:
 |
 |
A few words of advice here though:
The automatic ceiling, which can be enabled from the Environment tab in the Camera Settings, is see-through from above and lets the sunlight through. This means that strong sunlight will have a large impact on the lights and shadows inside the room. You may therefore need to pull down the sunlight quite a bit, or work with a solid ceiling to achieve the result that you want.
For tone mapping to function properly, the white infinite background must not be visible through wall openings (i.e. windows, doors, vaults etc.). Otherwise, the tone mapping will try to balance up the rendering bases on the white background, which is a non-desired behavior. To prevent this from happening, we recommend that you place one or several Standing 3D image components outside of wall openings. If you wish, you can add a texture or image, or just a plain color. Since this image component is one-sided by default, the sun can shine through it from the back, which is necessary if you want to simulate the sun shining through an opening into the room.
Also notice that missing textures on imported objects can mess up the tone mapping, since it then tries to balance up the wrong things.