Most new dialogs, such as the Render Queue, now have direct links to the associated chapter in the InstantPlanner Help. To access it, simply press the F1 key on your keyboard.
The render settings are automatically saved in the drawing which makes it easier to render using the same settings the next time you, or somebody else, opens the drawing.
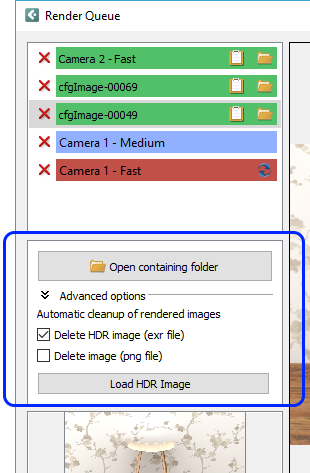
We have added Advanced options to the Render Queue. Here, you can enable automatic cleanup of rendered images from the render queue and the render queue folder. You can choose to delete either the .exr file, the .png file, or both. The cleanup will take place when you delete a render job, or when you close the Render Queue window. Note that the Delete HDR image (exr file) is selected by default.
This section also holds a button named Load HDR Image. If you have used this button to load an HDR image, it will not be removed from the render queue folder during cleanup; only from the actual render queue window. Loading an HDR image into InstantPlanner enables post processing, either to correct / adjust an image, or applying special effects. Note that images that have been removed from the render queue folder cannot be restored.
When you drag and drop an image from the Render Queue window onto the drawing area, the image file is now saved to the folder as stated in the Control Panel.

Default is to use the Documents folder on your local computer, but you can check the box and browse for a different location if you want to, for example a shared location.
We have listened to user feedback and made the post processing controls more straight forward and easier to use. The purpose for offering post processing in InstantPlanner is that instead of re-rendering images that are, for example, too dark you can work with the post processing effects to enhance the image and achieve a result that you are happy with.
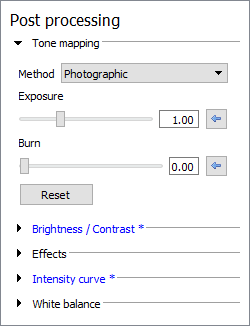
The post processing area of the Render Queue window is divided into the following sections: Tone mapping, Brightness/Contrast, Effects, Intensity curve, and White balance. Every section has a reset button that will reset all the controls within the section to their default, and there is also a back arrow button that resets each control individually. If a post processing is changed from default, the section name turns blue and displays a *, so you can easily spot where changes have been made.
When an image has finished rendering and the line is green in the Render Queue you can start with the post processing. To apply a post processing effect, click and move a slider sideways, or type in a value in the input field and press Enter. All changes are instant and are temporarily saved in the .png file in the image folder. If you want to keep the edited image, remember to save the .png file manually to a different location, since the file in the Render Queue folder will be overwritten the next time you apply post processing.
We recommend that you start trying these settings out carefully, since tweaking the controls just slightly could have quite a significant impact on your image.
Tone mapping compresses the color range in an image into a range that can be handled by computer monitors. InstantPlanner offers three options that will affect your image differently. Describing exactly how is difficult, so we recommend that you try them out yourself and compare the results. Remember to look at the overall image as well as the details (for example lit surfaces).
|
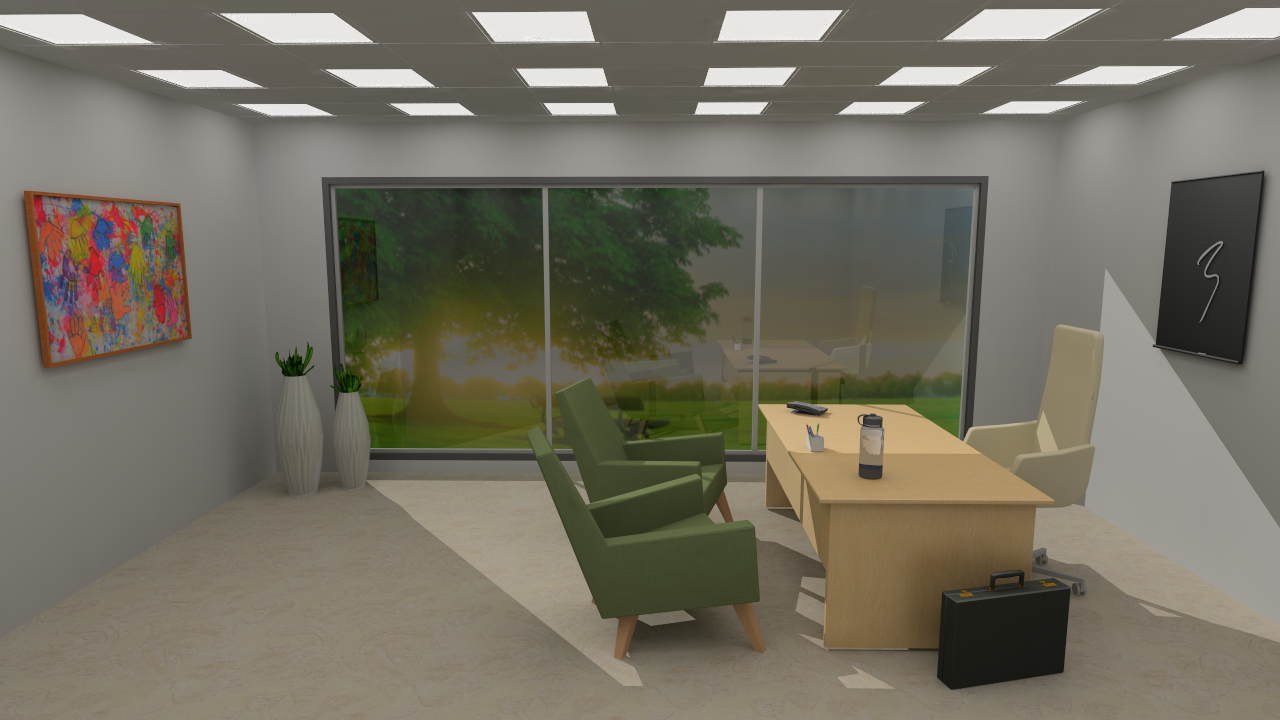
Limited: the Limited option lies very close to the original image. This method limits the color range by cutting out the darkest and the brightest colors. It does not actually correct anything; under exposed areas will remain dark, and over exposed areas will remain bright.
|
|
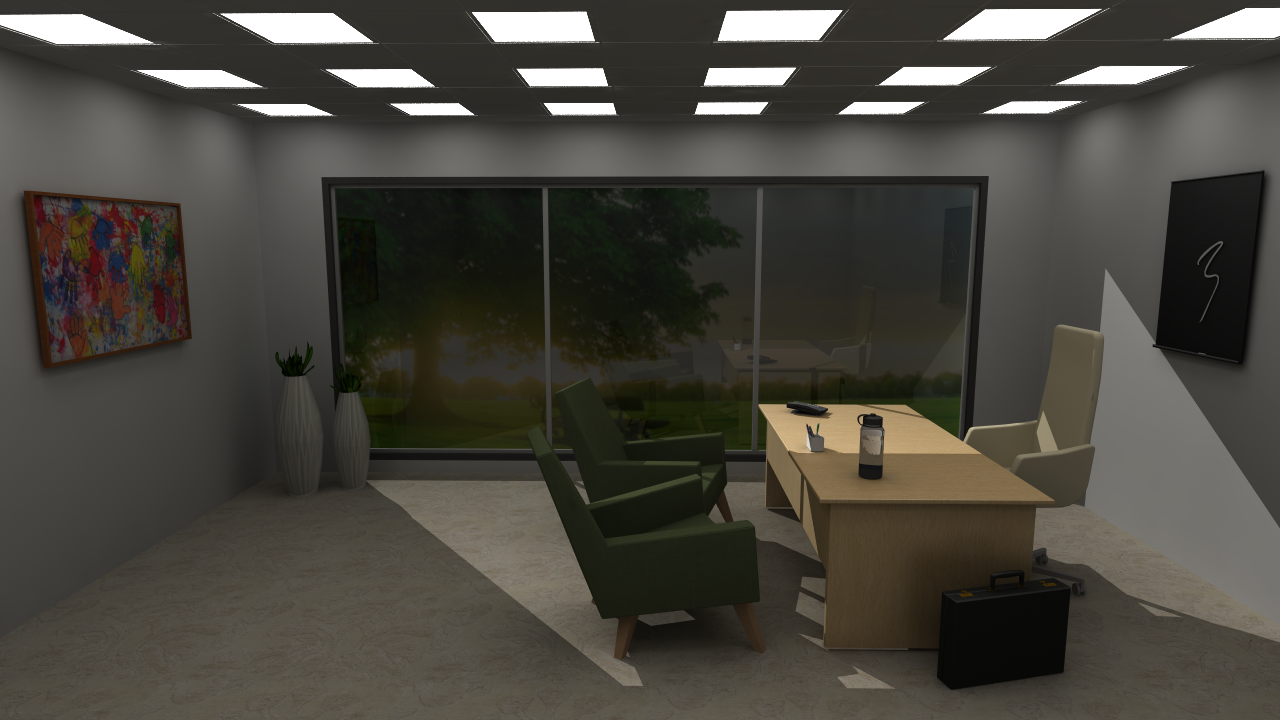
Photographic (default): this option is the default setting because it uses more color shades and most of the times generates the best result. It corrects under and over exposed areas, but could make the colors look slightly plain and dull, in which case you can try the other tone mapping options. This tone mapping removes light effects that are out of range, which the burn control can then recreate, if desired.
|
 |
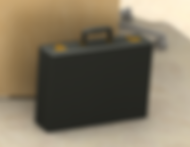
Exposure: is basically just like the Limited option but with a control for adjusting the exposure to make the image brighter. In the image to the left, the exposure has been increased to 1.75 (default is 1.00).
|
The Brightness slider adjusts the overall brightness in the image, ranging from very dark on the left to very bright on the right.
The Contrast slider increases or decreases the contrast in the image, making objects in the image more or less distinguishable from other objects and the background.
Note that these controls are global, i.e. they affect the whole image and are not very nuanced.
 |
 |
 |
No adjusted brightness or contrast |
Brightness set to 20 |
Brightness and contrast set to 20, respectively |
These controls let you sharpen or blur your image, or apply a glow effect.
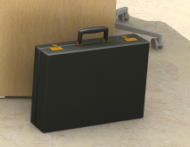
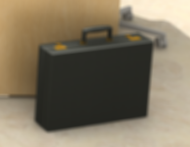
Sharpen: reinforces the lines in the image, making objects look sharper:
 |
 |
No sharpen effect |
Full sharpen effect |
 |
 |
No sharpen effect |
Full sharpen effect |
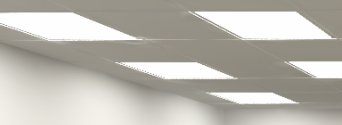
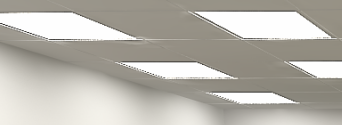
Blur: applies a blur effect to the image. Notice that the Radius control has a large impact here in terms of how much blur is applied. The minimum value (1) applies a very light blur, hardy even visible, while the maximum value (6) applies a really significant blur. The blur effect affects the whole image.
 |
 |
 |
No blur effect |
Full
blur effect and |
Full
blur effect and |
 |
 |
 |
No blur effect |
Full
blur effect and |
Full
blur effect and |
Glow: makes lit surfaces (such as tiles or table tops) even glossier as the light on them increases.
|
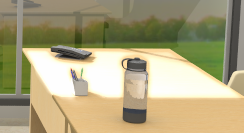 |
No glow effect |
Glow effect set to 80 |
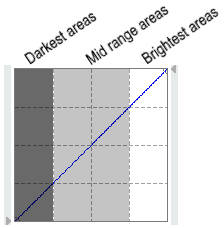
The intensity curve is a graphical control for fine tuning the overall light intensity in the image. The leftmost column affects the darkest areas, the rightmost the brightest areas, and the two middle columns affect the mid range areas. It starts out as neutral, with no intensity correction which is displayed as a diagonal line as shown below:
You can change the intensity by selecting one of the presets Brighten, Darken, Contrast, and Invert. These will have different effects on the image, and you will notice that the curve changes. You can left click on a control point to slightly adjust the curve, and if you left click anywhere along the curve you will add a new control point. If you make alterations, a dashed line show the neutral reference line. The reset button is for resetting to the selected preset. If you don’t want any intensity correction at all, pick the neutral option from the dropdown menu again. You can also create custom curves simply by adding your own control points by left clicking along the curve, and adjusting them. To remove a control point from the curve, just right click on it.
You can also click the small arrows on the side of the grid to change the curve's start and end points.
Adjusting the white balance will change the color balance in your rendering; making it look warmer or cooler. The white balance is adjusted by clicking anywhere along the scale from amber through white to blue, until your are satisfied with the result. To set a custom reference color, click the color preview and select your reference color.
 |
 |
White balance set to about halfway in the Cooler direction |
White balance set to about halfway in the Warmer direction |
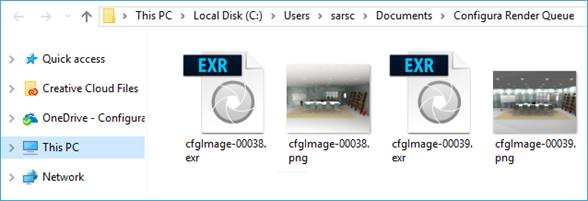
Although
InstantPlanner has rendered HDR images for some time now, they have not
been saved. Saving them is now done automatically. From the Render Queue
window you can open the folder containing your renderings, where the HDR
images are tagged with the new file format .exr. The reason for saving
this type of image file is to enable editing in photo editing software.
Note that your image is also saved in the .png format, just as before,
so there will be two images with the same file name but with different
file endings. If you have added any post-processing effects, this is reflected
in the .png file.
Selecting
either the Medium or the
High render quality in the
Render Settings dialog now
displays an Emissive background
checkbox in the Lighting &
Shadows section:
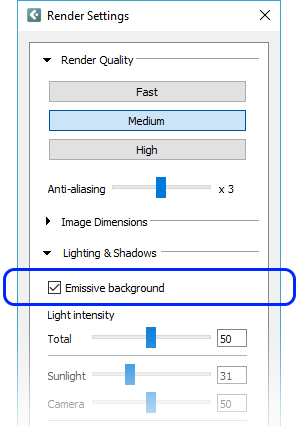
Previously, emissive background was always activated for medium and high
quality renderings but is now optional. Leaving this box checked, which
is recommended in most cases and the default setting, will add a lot of
additional light onto the scene during rendering. This is mostly a good
thing that contributes to realistic-looking renderings, but open scenes
with very bright colors, textures, and models could render too bright.
Therefore, we have made it possible to turn off emissive background. If
you are working on a closed room with walls and ceiling, the emissive
will have very little or no
effect at all. In this situation, you will need to work with other light
sources, such as the camera light or the ceiling with integrated lights,
to achieve good lighting.
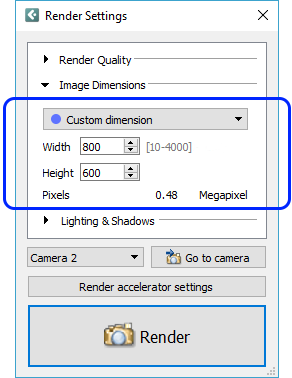
We
have added an Custom dimension
option to the Image Dimensions
section of the Render Settings
dialog:
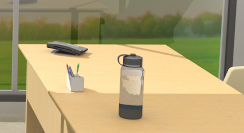
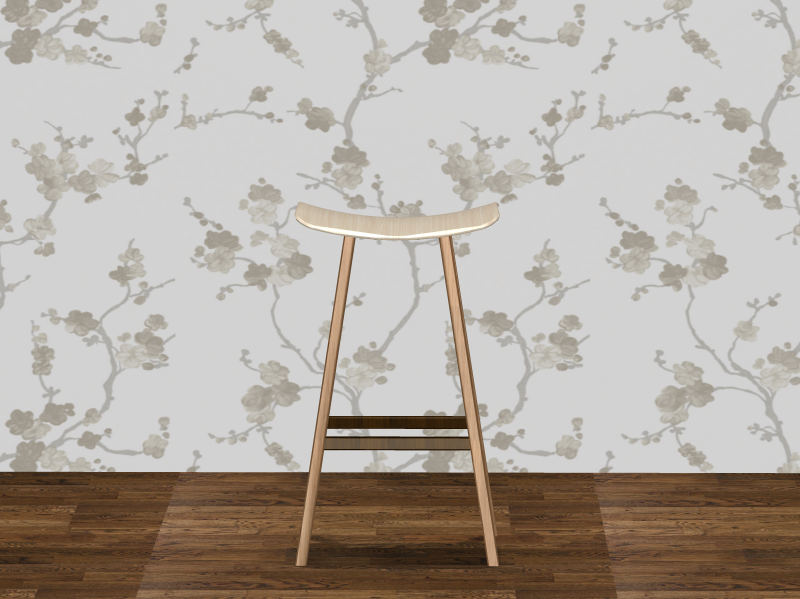
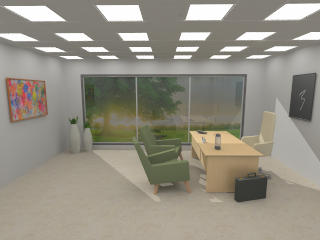
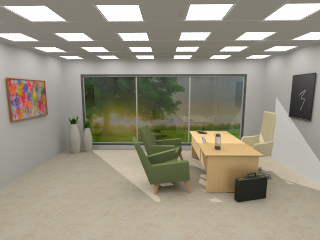
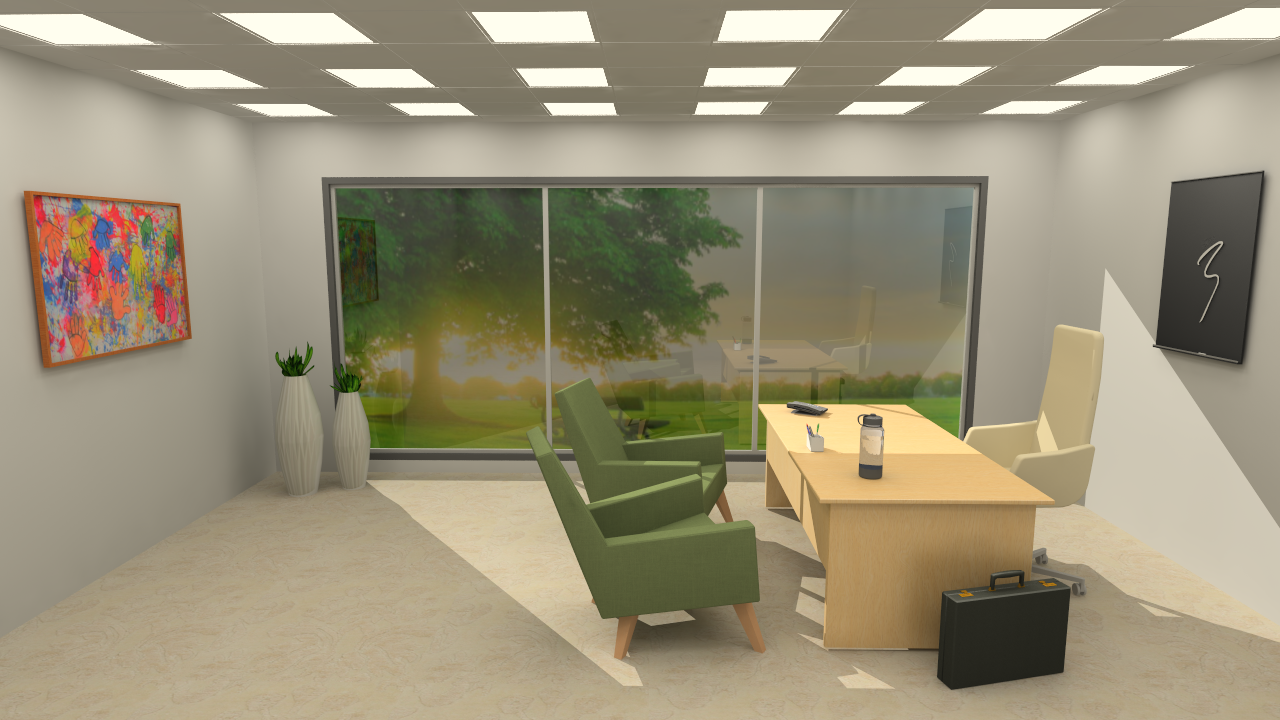
Thanks to lighting updates, the quick render option Develop (preview) now generates really nice looking images too:
|
|
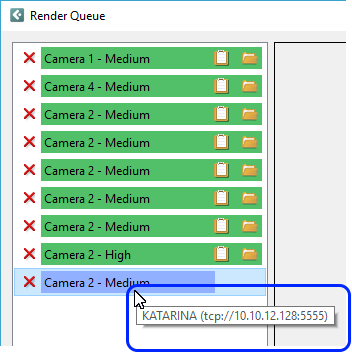
In
the Render Queue window,
you can hover with the mouse over a rendering in progress to see which
computer is accelerating the rendering:
It is now possible to restart renderings that for some reason have failed
and could not complete.
Several 3D primitives (mainly curved and elliptical windows and curved walls) now have a higher quality geometry which makes them look better in a Walkthrough or quick render.
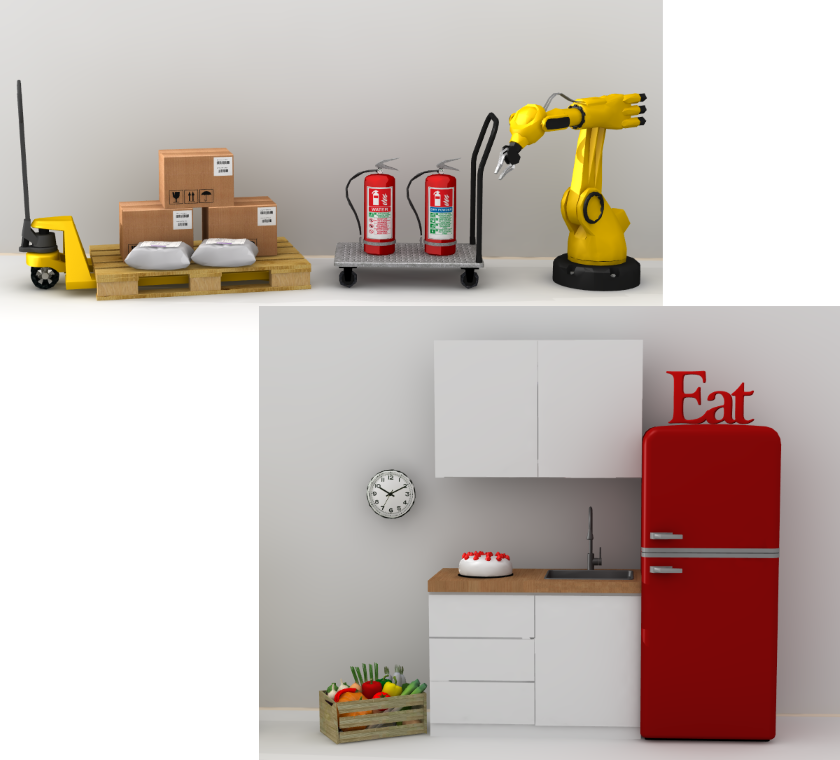
We have added three new accessory Catalogues with items for industrial environments and kitchen areas. By default, they are enabled but can be disabled from the Catalogue Browser:
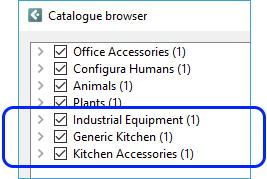
Below is a small selection all the models found in these Catalogues:
All
Catalogue objects now have a scaling slider in their quick properties
that lets you scale them up or down in size. Be careful when scaling objects
that are snapped together with other objects. Since catalogue objects
don’t take snapping into account when you change their properties, the
end result will probably not look as intended.
The Catalogue Browser now contains an option for the user to enable/disable Catalogues.
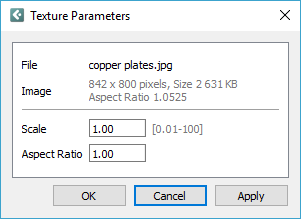
As a response to user requests, we have worked on making texture scaling on straight walls easier and more straight forward. Therefore, most of the scaling functionality has been removed from the Texture Parameters dialog, where only scale and aspect ratio remains:
 |
By default, textures are applied in 1x1 meter tiles. The starting scale is 1:1, which appears in the text field as 1.00. If you want the texture to double in size, enter 2. If you want it to halve in size, enter 0.5. In the example to the left, our wall is 4 meters long and 2.7 meters high and we keep the default scale of 1. We then get 4 repetitions of the texture along the wall. |
|
|
 |
Setting the scale to 2.7 would give us 1 repetition along the height of the wall. |
|
|
 |
To make the texture fit the entire wall, we'll need to do a bit of counting. Our wall aspect ratio is 4 / 2.7 = 1.48. Hence, setting the scale to 2.7 and the aspect ratio to 1.48 will make the texture fit the whole wall. |
Note: If you are using a rectangular texture, it will be compressed into a 1x1 meter tile. To make it fit the entire wall, you have to keep the aspect ratio of the texture or image which is calculated as width divided by height.
We have added support for AutoCAD 2018.
The dialog for submitting error reports now, very briefly, shows feedback on whether or not the requested files have been attached. Rejected means that the file has already been attached, or that it is too big.
For technical support, please send an e-mail to support@instantplanner.com