
There are a large number of possibilities for changing the color and material of the various components in the program. You can change the appearance on accessories, walls, floors and other surfaces using predefined colors, your own colors, and textures (for example, tiles, bricks and wallpapers).
There are three different ways of opening the Material/Color Change dialog (see Figure 1):
Provided that the desired component is activated in the drawing area, you can access the dialog from the Edit menu. Choose Material/Color.
Right-click on the desired component and choose Material/Color from the pop-up menu which appears.
From the Camera Settings dialog (this only applies when you are changing the material or color of walls or floors). Click on the Environment tab and then on the button Material/Color.
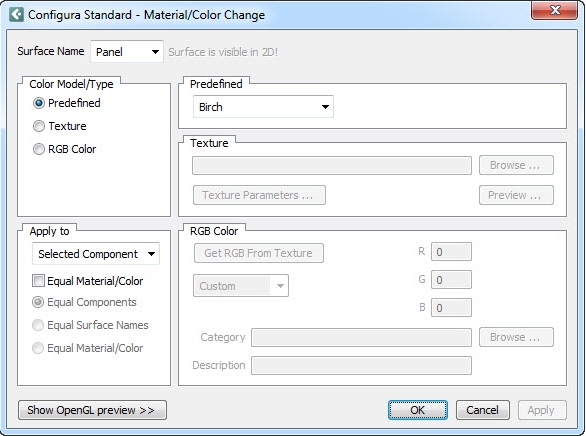
Figure 1 - The Material/Color Change dialog
Example:
You want to change the color of a pallet from wooden to black.
Follow the instructions below:
Select a pallet from the Accessories tab, move it onto the drawing area and click it into position.
Put the mouse pointer on the pallet and right-click. A pop-up menu is displayed (see Figure 1).
Choose Material/Color from the pop-up menu. The Material/Color Change dialog is displayed
In the Color Model/Type field, click on RGB Color.
Click on the arrow in the drop-down list in the field RGB Color below.
Choose the color Black from the list.
Click on OK or Apply.
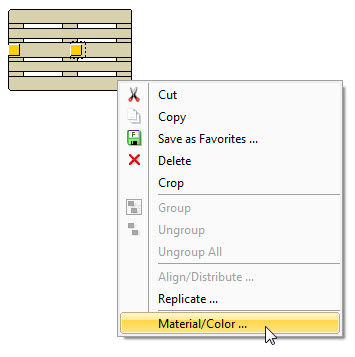
Figure 1