The possibilities of changing the color or material of the various components in the program are many. You can change the appearance on accessories, walls, floors and other surfaces by using predefined colors, your own colors, and textures (for example, tiles, bricks, and wallpapers).
There are different ways of accessing the Material/Color Change dialog, where you change material or color:
Provided that the desired component is activated in the drawing area, you can access the dialog from the Edit menu. Choose Material/Color.
Right-click on the desired component and choose Material/Color from the pop-up menu that appears.
From the Environment field in the Render & Camera Settings dialog; to change the material or color of the automatic ceiling or floor.
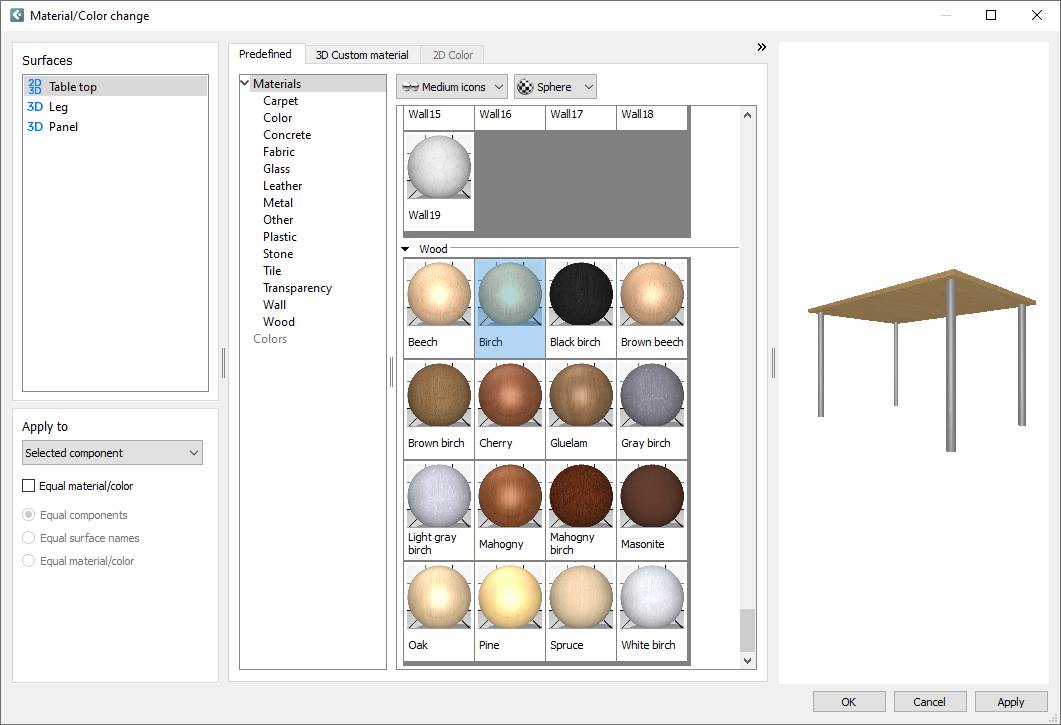
In the Material/Color Change dialog, there are three tabs available for showing different colors and materials: Predefined, 3D Custom material, or 2D Color.
Predefined: There is a large number of predefined colors and materials. You cannot add your own materials and colors to the predefined ones in the same way as you can with textures and RGB colors.
3D Custom material: Here, you can work with Textures and RGB Colors for 3D surfaces. Textures are images of real materials. You can use them to make surfaces look more realistic. Textures could include wallpapers, bricks or tiles. The textures must be stored on your PC or on your company's network in order for you to be able to use them. For RGB colors, you can pick one of the basic colors or specify and save your own.
2D Color: This tab becomes available when you have selected a 2D surface and contains a set of colors to choose from.
After selecting a new color or material, you can control what to apply it to, before confirming with either OK (closes the dialog) or Apply (keeps the dialog open) in the lower right corner.
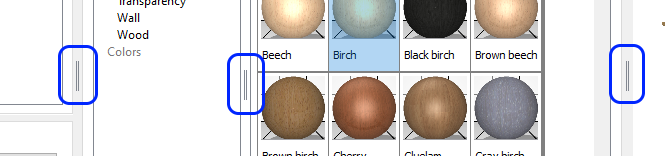
Use the splitters to resize the different sections in the Material/Color change dialog:
|