
The Light source and the Area light are both used as a general light to light up your scene. They produce quite a strong light and, usually, it is enough to only use one of these components in a drawing layout.
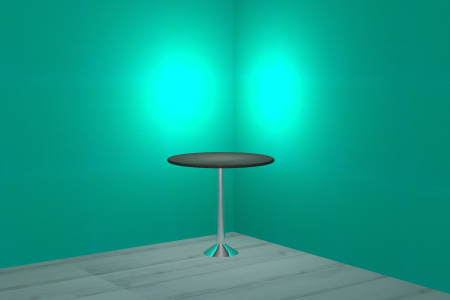
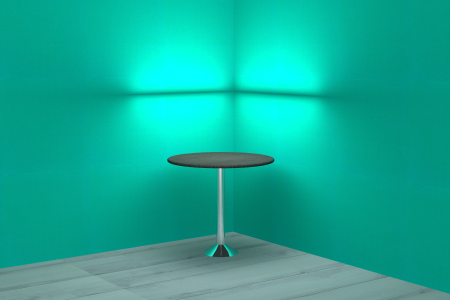
The difference between these two components is that the light source spreads light in every direction from its center, whereas the area light spreads light up- and downward from the entire area. This difference is clearly visible in these renderings, where both components are placed at the same height right above the table:
 |
 |
|
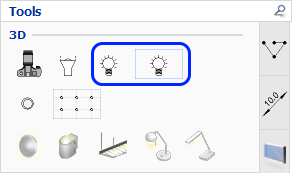
To place a Light source in your drawing, follow these steps:
On the Tools tab, click to select the light source and move it to the drawing area.
Click once to place the light source in the desired location. A new light source component is now available on the mouse cursor.
Repeat step 2 if you want to add more light sources to your drawing.
When you are finished, press the Esc key or move the cursor outside the drawing area to release the component.
To place an Area light in your drawing, follow these steps:
On the Tools tab, click to select the area light and move it to the drawing area.
Click once to set the starting point, keep holding the left
mouse button down and start moving the mouse cursor diagonally to
form a square or rectangle:
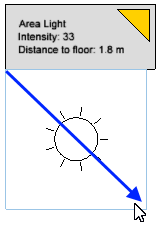
When reaching the desired size, release the mouse button. A new area light component is now available on the mouse cursor.
Repeat steps 2-3 if you want to add more area lights to your drawing.
When you are finished, press the Esc key or move the cursor outside the drawing area to release the component.
Double-clicking a light source or the area light label brings up the Light Settings dialog where you can make adjustments.
Note:
|