

In the Render & camera settings, you can save your render settings for later use. InstantPlanner defaults to showing the preset that was last used. If you haven't saved or picked a custom preset, the Default preset will be used.
To create a custom preset, follow these steps:
Make the desired changes among the render settings available
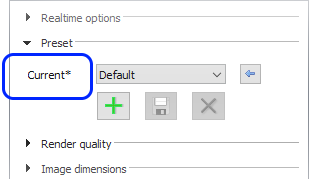
in the dialog. As soon as the current settings differ from the Default
preset in any way, this is indicated with an asterisk:
To save your settings, click the  button,
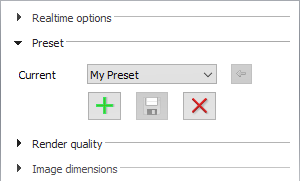
enter a preset name and confirm with OK. Your preset is saved and
becomes selected in the menu:
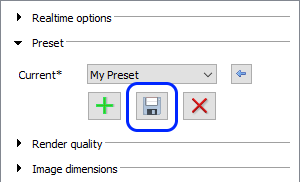
If changes are made to the selected preset, this is again indicated
with an asterisk and the Save button becomes available. Click it to
save the changes to the preset:
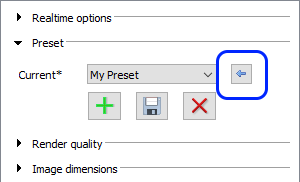
To reset a preset back to its original settings, use the blue
left arrow button:
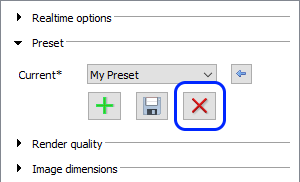
To remove a custom preset, select it from the menu and click
the red removal X button:
Follow these links to read more about the options available: Realtime options, Render Quality, Image Dimensions, Lighting & Shadows, Environment, and Camera Settings.