
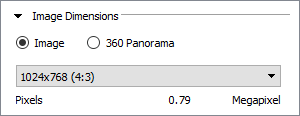
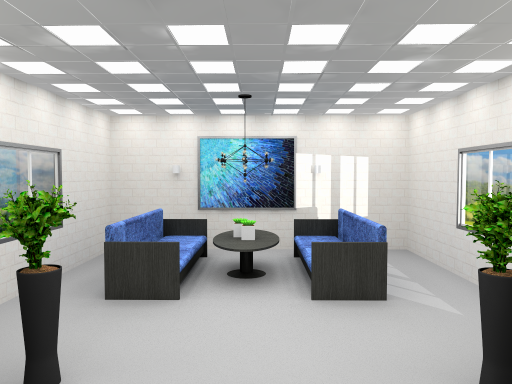
In the Render & camera settings, there are several predefined Image dimensions to choose from, and it is also possible to specify a custom dimension. All the predefined dimensions are shown in the format 1024x768 (4:3) which reads:
1024x768 is the width and height of the image, measured in pixels.
(4:3) shows the aspect ratio of the image; meaning the relationship between the width and the height.
Configura automatically calculates and shows the image size in megapixels.
Note:
|
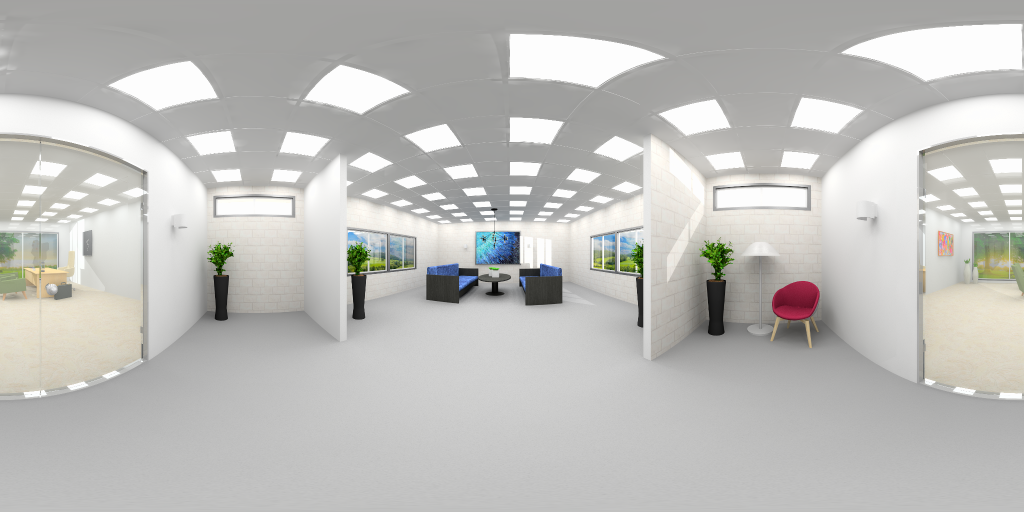
A 360 panorama image is a series of rendered images stitched together into one image file. A 360 panorama is used to help present a virtual space, either through a navigable image, or with Virtual Reality tools such as Oculus Rift or Google Cardboard.
To share your 360 panorama through a MyConfigura Briefcase, simply attach the image to a Briefcase post. Any image ending with .vr.png (or .vr.jpg) will automatically be interpreted as a viewable 360° scene, requiring no extra software beyond your web browser.
|
There are three different sizes to choose from when doing a 360 panorama:
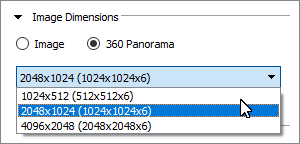
Please note that the largest option will increase the file size and rendering time significantly.
Note:
|
Regardless of which image dimension you pick, you can go into the other settings and tweak them according to your wishes before rendering the image. Follow these links to read more about the options available: Realtime options, Preset, Render quality, Lighting & shadows, Environment, and Camera settings.