
To draw straight walls with varying thicknesses, go to the Wall drawing tab.
Here you will find four different types of straight walls (see Figure 1 below):
Thin straight wall (without thickness)
Straight walls (4" thick)
Thick straight wall (8" thick)
Column
The height of the walls is 94", but this can easily be changed.

Figure 1
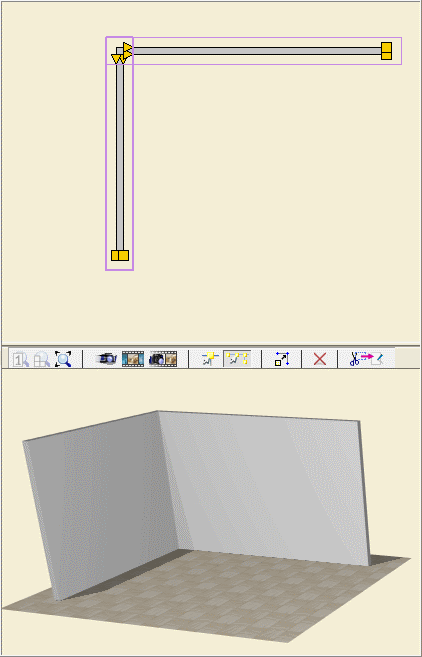
It is easy to place the straight walls. To draw a corner with two 4"-thick walls (see Figure 2 below).
Follow these steps:
Select the Straight Walls middle component from the component tab and place it in the drawing area by clicking once.
Enter the desired length in the input box that appears.
Enter the angle for the wall, either by moving the mouse pointer in the desired direction or by entering an exact value. Confirm by clicking.
An identical wall component appears at the mouse pointer. Let it find the end of the first wall and click.
Enter the length for the other wall, indicate the angle and click.
Move the mouse pointer outside the drawing area and press the Esc key to release the component.

Figure 2
Note:
|